Frequently Asked Questions
1. Why should I make my own bath bombs?
2. What are the essential dry ingredients needed for DIY bath bombs?
3. What tools do I need to make bath bombs?
4. How can I enhance my bath bombs after mastering the basic formula?
5. What are some storage tips for my bath bombs?
Bath time can be a luxurious escape from the everyday hustle, and nothing enhances this experience quite like a fizzing, fragrant bath bomb. If you've ever wondered how to create your own delightful bath bomb concoctions, you're in luck! In this guide, we will take you through the art of DIY bath bomb making, so you can enjoy a spa-like experience in the comfort of your own home.
Why Make Your Own Bath Bombs?
Before we dive into the creative process, let's explore why crafting your own bath bombs can be a rewarding experience:
- Customization: You get to choose your favourite scents, colours, and shapes.
- Natural Ingredients: Ensure your creations are free from harmful chemicals and additives.
- Cost-Effective: Making bath bombs at home can save you money compared to store-bought options.
- Fun Activity: This can be a fun project to do alone or with friends and family.
Essential Ingredients for Bath Bombs
To create your personal bath bombs, you'll need some essential ingredients. Each component has a unique role that contributes to the fizzing effect, texture, and fragrance.
Dry Ingredients
The backbone of any bath bomb lies in its dry components:
- Baking Soda: Acts as a base and provides fizzing action when combined with acids.
- Citric Acid: A key ingredient that triggers the fizzing when wet.
- Epsom Salt: Provides a soothing effect and helps relieve muscle tension.
- Cornstarch: Helps bind ingredients together and gives a smooth texture.
Wet Ingredients
To complement the dry ingredients, you'll want to include some liquids:
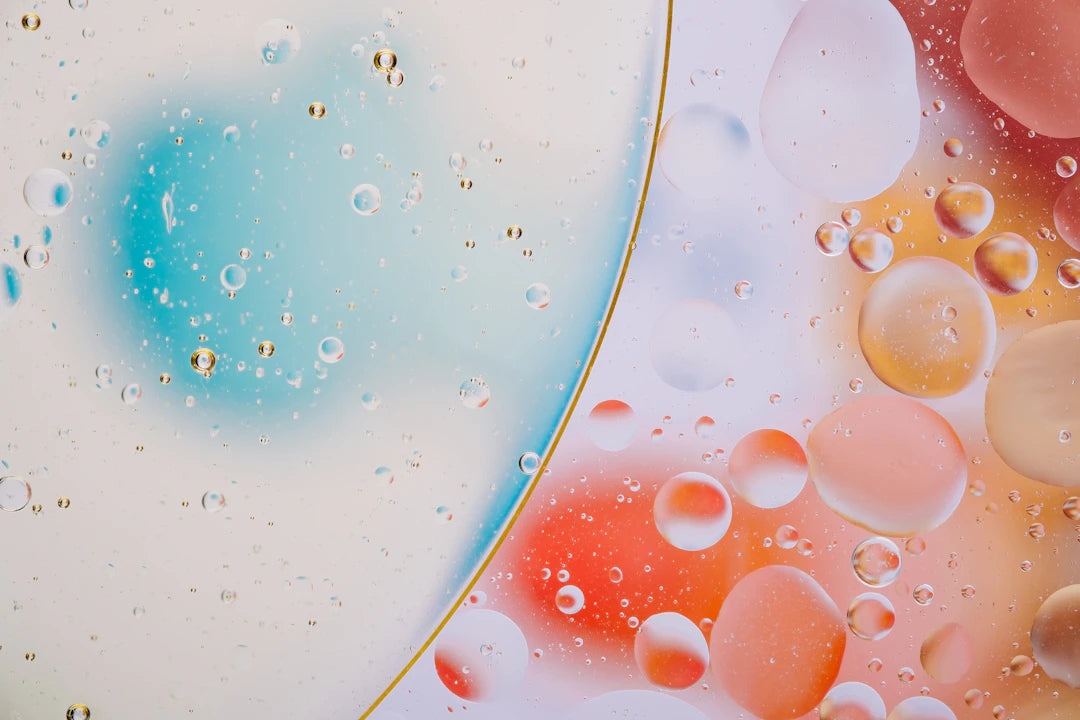
- Essential Oils: Adds fragrance and therapeutic benefits (e.g., lavender for relaxation).
- Natural Colourants: Plant-based powders or food colourings can add a fun hue to the bath bombs.
- Water or Oil: Helps to moisten the mixture without overwhelming the fizzing reaction.
Tools You’ll Need
Before getting started, gather the following tools to make your DIY process smooth:
- Mixing Bowl: For combining all your ingredients.
- Moulds: Silicone moulds or plastic bath bomb moulds for shaping your creations.
- Whisk or Spoon: For mixing ingredients thoroughly.
- Gloves: To protect your hands, especially if using colourants.
Step-by-Step Guide to Making Bath Bombs
Now that you have your ingredients and tools ready, follow these simple steps to create your own bath bombs:
Step 1: Mix Dry Ingredients
In a mixing bowl, combine:
- 1 cup of baking soda
- 1/2 cup of citric acid
- 1/2 cup of Epsom salt
- 1/2 cup of cornstarch
Use a whisk to ensure the ingredients are evenly blended and free of clumps.
Step 2: Combine Wet Ingredients
In a separate small bowl, mix:
- 2 1/2 tablespoons of essential oil
- A few drops of natural colourant
- 1 tablespoon of water or oil
Stir well to combine all wet ingredients thoroughly.
Step 3: Combine Wet and Dry Ingredients
Gradually add the wet mixture into the dry mixture while whisking continuously. The goal is to create a consistency similar to damp sand. If it becomes too fizzy, pause to allow it to settle before mixing again.
Step 4: Pack the Mixture into Moulds
Once your mixture is well combined, pack it firmly into your chosen moulds. Press down to ensure there are no air gaps. Overfill slightly and press to create a domed shape, which will help when removing from the mould.
Step 5: Let Them Dry
Allow the bath bombs to dry for at least 24 hours. This will ensure they harden properly. After they have dried, carefully remove them from the moulds and place them on a towel or cooling rack to air dry further.
Enhancing Your Bath Bombs
Once you've mastered the basic formula for DIY bath bombs, it’s time to get creative! Here are some ideas to make your bath bombs more special:
Additives
Consider adding extras like:
- Dried Flowers: Lavender buds or rose petals for a beautiful appearance and scent.
- Herbs: Mint or chamomile can add natural fragrances and therapeutic properties.
- Glitter: Eco-friendly glitter to give your bath bombs a shimmering effect.
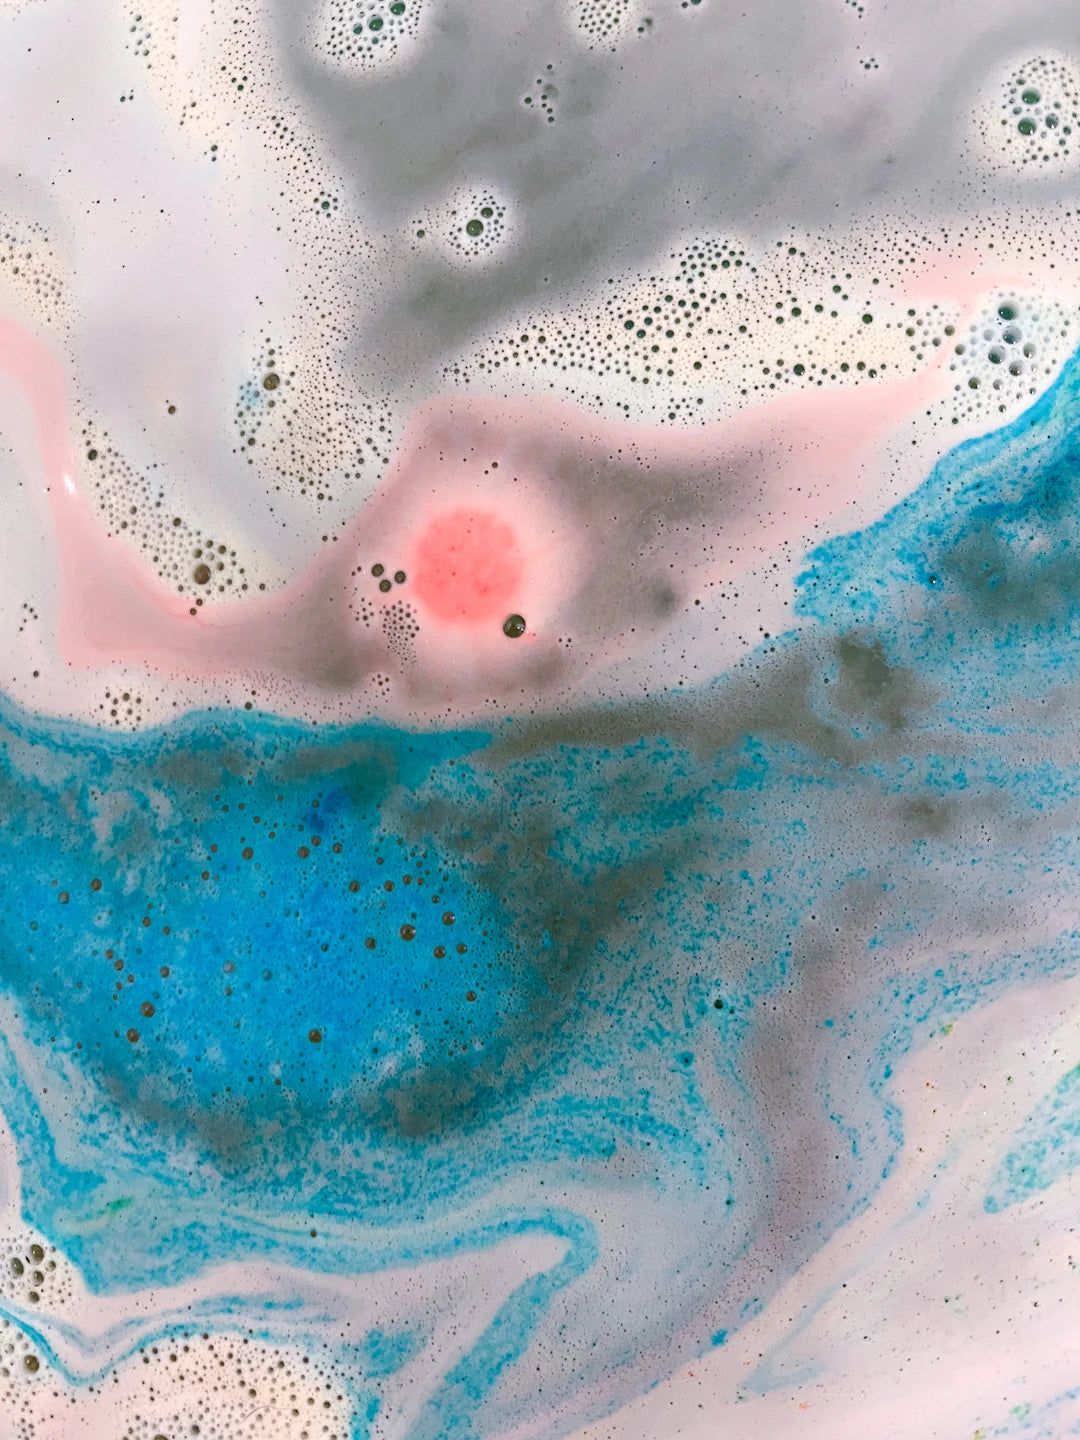
Layering Your Bath Bombs
Create visually stunning bath bombs by layering different colours and scents. Simply pour the first layer, allow it to settle, and then add the next one.
Understanding Fragrance Blending
Experiment with combinations of essential oils. Not only can you cater to your scents’ preferences, but you might also discover new aromatic blends that enhance your bathing experience.
Storing Your Bath Bombs
To maintain the fizz and fragrance of your bath bombs, proper storage is essential. Here are some tips:
- Keep Them Dry: Store in an airtight container in a cool, dry place.
- Avoid Exposure to Moisture: Humidity can cause the bath bombs to activate prematurely.
- Label Your Creations: If you have multiple scents or varieties, consider labelling to easily know which is which.
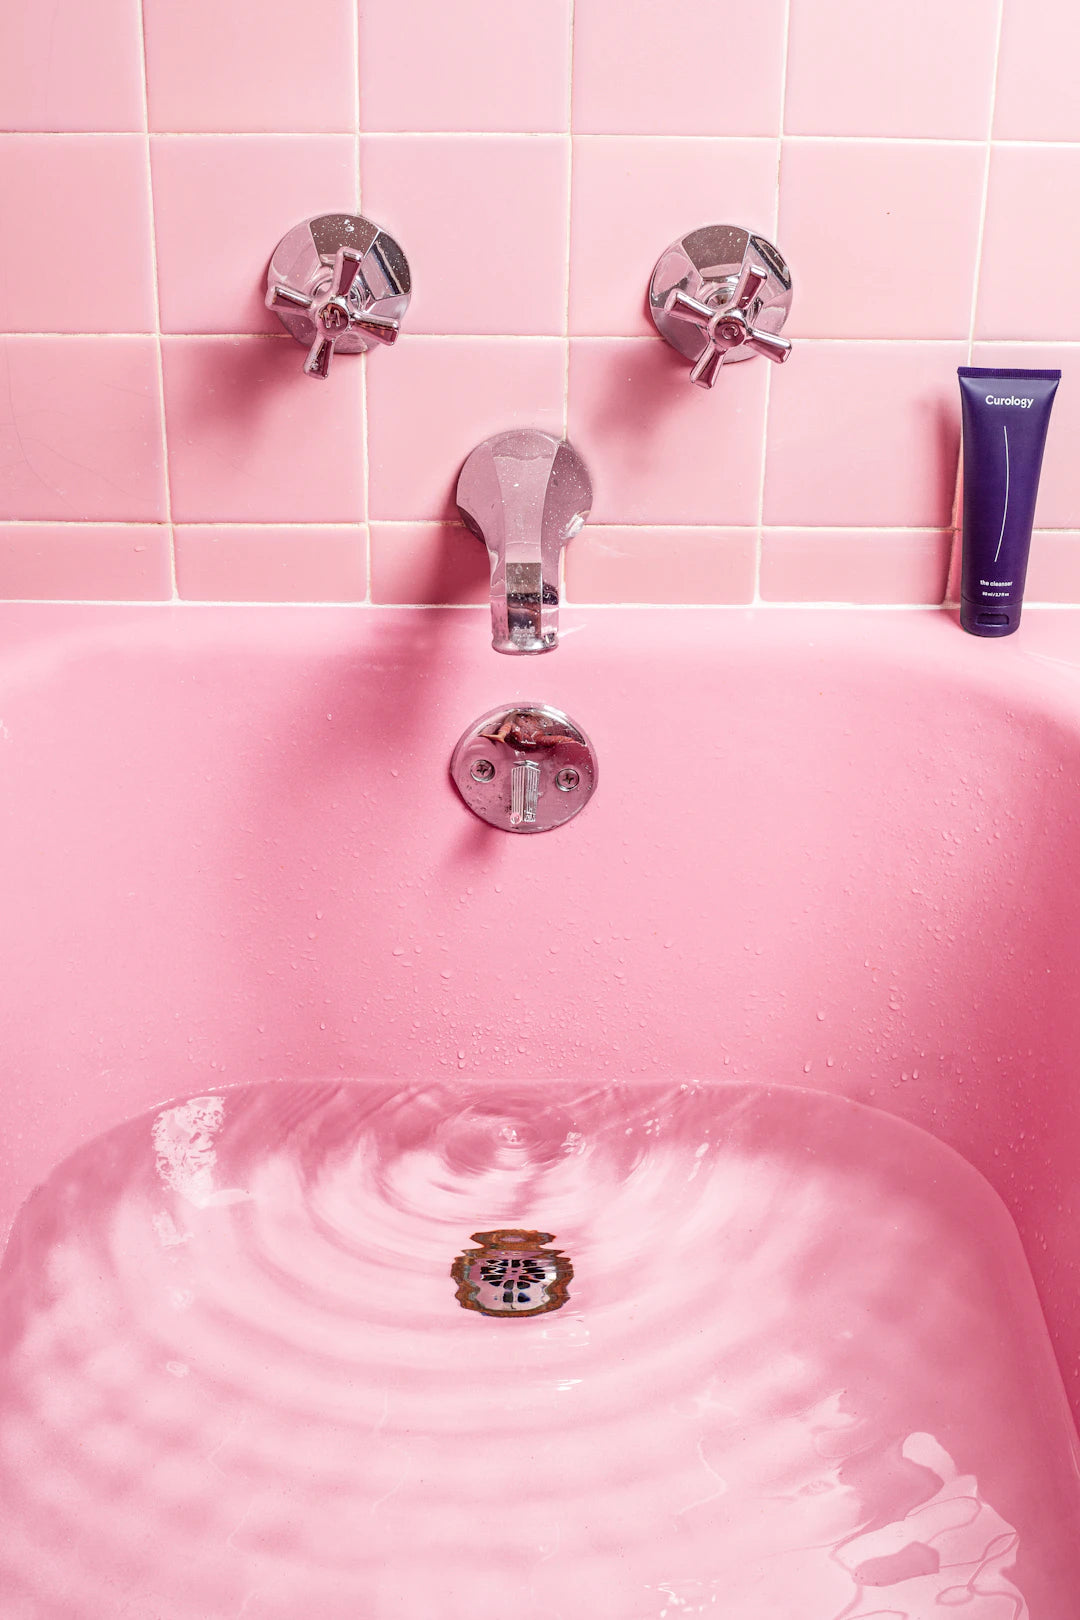
Bath Bomb Usage Tips
To get the most from your bath bombs, consider these tips:
- Warm Water: Use warm water to help activate the fizzing reaction.
- Full Tub: Use one bath bomb for a standard-sized tub; you may use two for a more luxurious soak.
- Test for Skin Sensitivities: If you are using colourful or aromatic ingredients, it’s advisable to test them first on a small patch of skin.
Share the Joy: Gifting Bath Bombs
Creating bath bombs can also double as a wonderful gifting opportunity! Here are some charming ways to present your creations:
- Decorative Jars: Fill small jars with bath bombs, tie them with a ribbon, and attach a personalised tag.
- Gift Sets: Combine different scents and colours in a beautifully designed box for a thoughtful gift set.
- Occasional Themes: Create holiday-themed bath bombs for occasions like Christmas or Valentine’s Day.
The Splash of Creativity Awaits!
Now that you have a comprehensive guide to creating your own delightful bath bombs, let your creativity take flight! Not only will you enjoy the therapeutic and hydrating benefits of your personalised bath bombs, but you’ll also have an engaging hobby that yields beautiful and fragrant results. Start experimenting today and transform your daily baths into extraordinary rituals that recharge both body and spirit!